
Planning Cabinet Handles and Hinges Before Painting
Decide on handle spacing, hinge compatibility and installation timing before cabinet preparation begins.
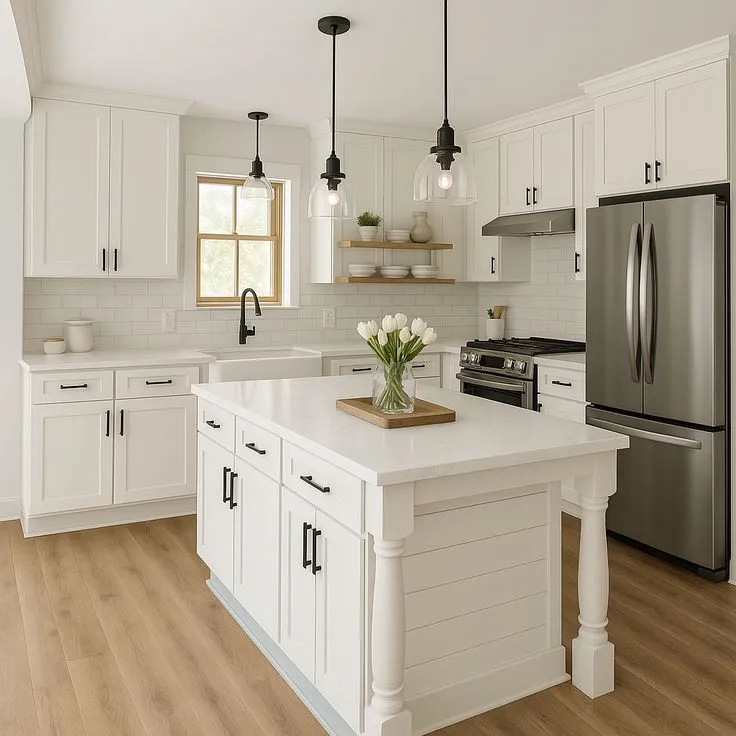
New handles can change the way a finished cabinet looks, while a hinge change can affect how a door moves. Both decisions belong in the cabinet-painting conversation before preparation starts. Waiting until the doors are finished can leave hole locations, repairs and installation responsibilities unresolved.
The goal is to coordinate the work. Hardware replacement is not automatically part of a painting estimate, and not every replacement fits every cabinet. Confirm the proposed hardware and who will supply, check and install it.
Record what is there now
Photograph the full kitchen, a typical door front and the hinge connection inside a cabinet. Count knobs, pulls and hinges by type. Check drawers separately; an island or older addition may use different fittings from the rest of the room.
For pulls, record the spacing between the existing mounting holes as well as the overall handle size. Keep a labeled sample when practical. A replacement that looks similar in a photograph may use different hole spacing or sit differently against the door.
Make hole changes part of preparation
Decide whether existing holes will be reused, filled or moved. Ask what repairs are included and what appearance can reasonably be achieved around an old mounting location. The answer depends on the door, its condition and the proposed finish.
Lay out the intended handle position before approving preparation. Consider the door profile, adjacent drawer and the direction each item opens. Request consistent placement across comparable fronts while allowing for actual differences in the cabinetry.
Treat soft-close as a compatibility question
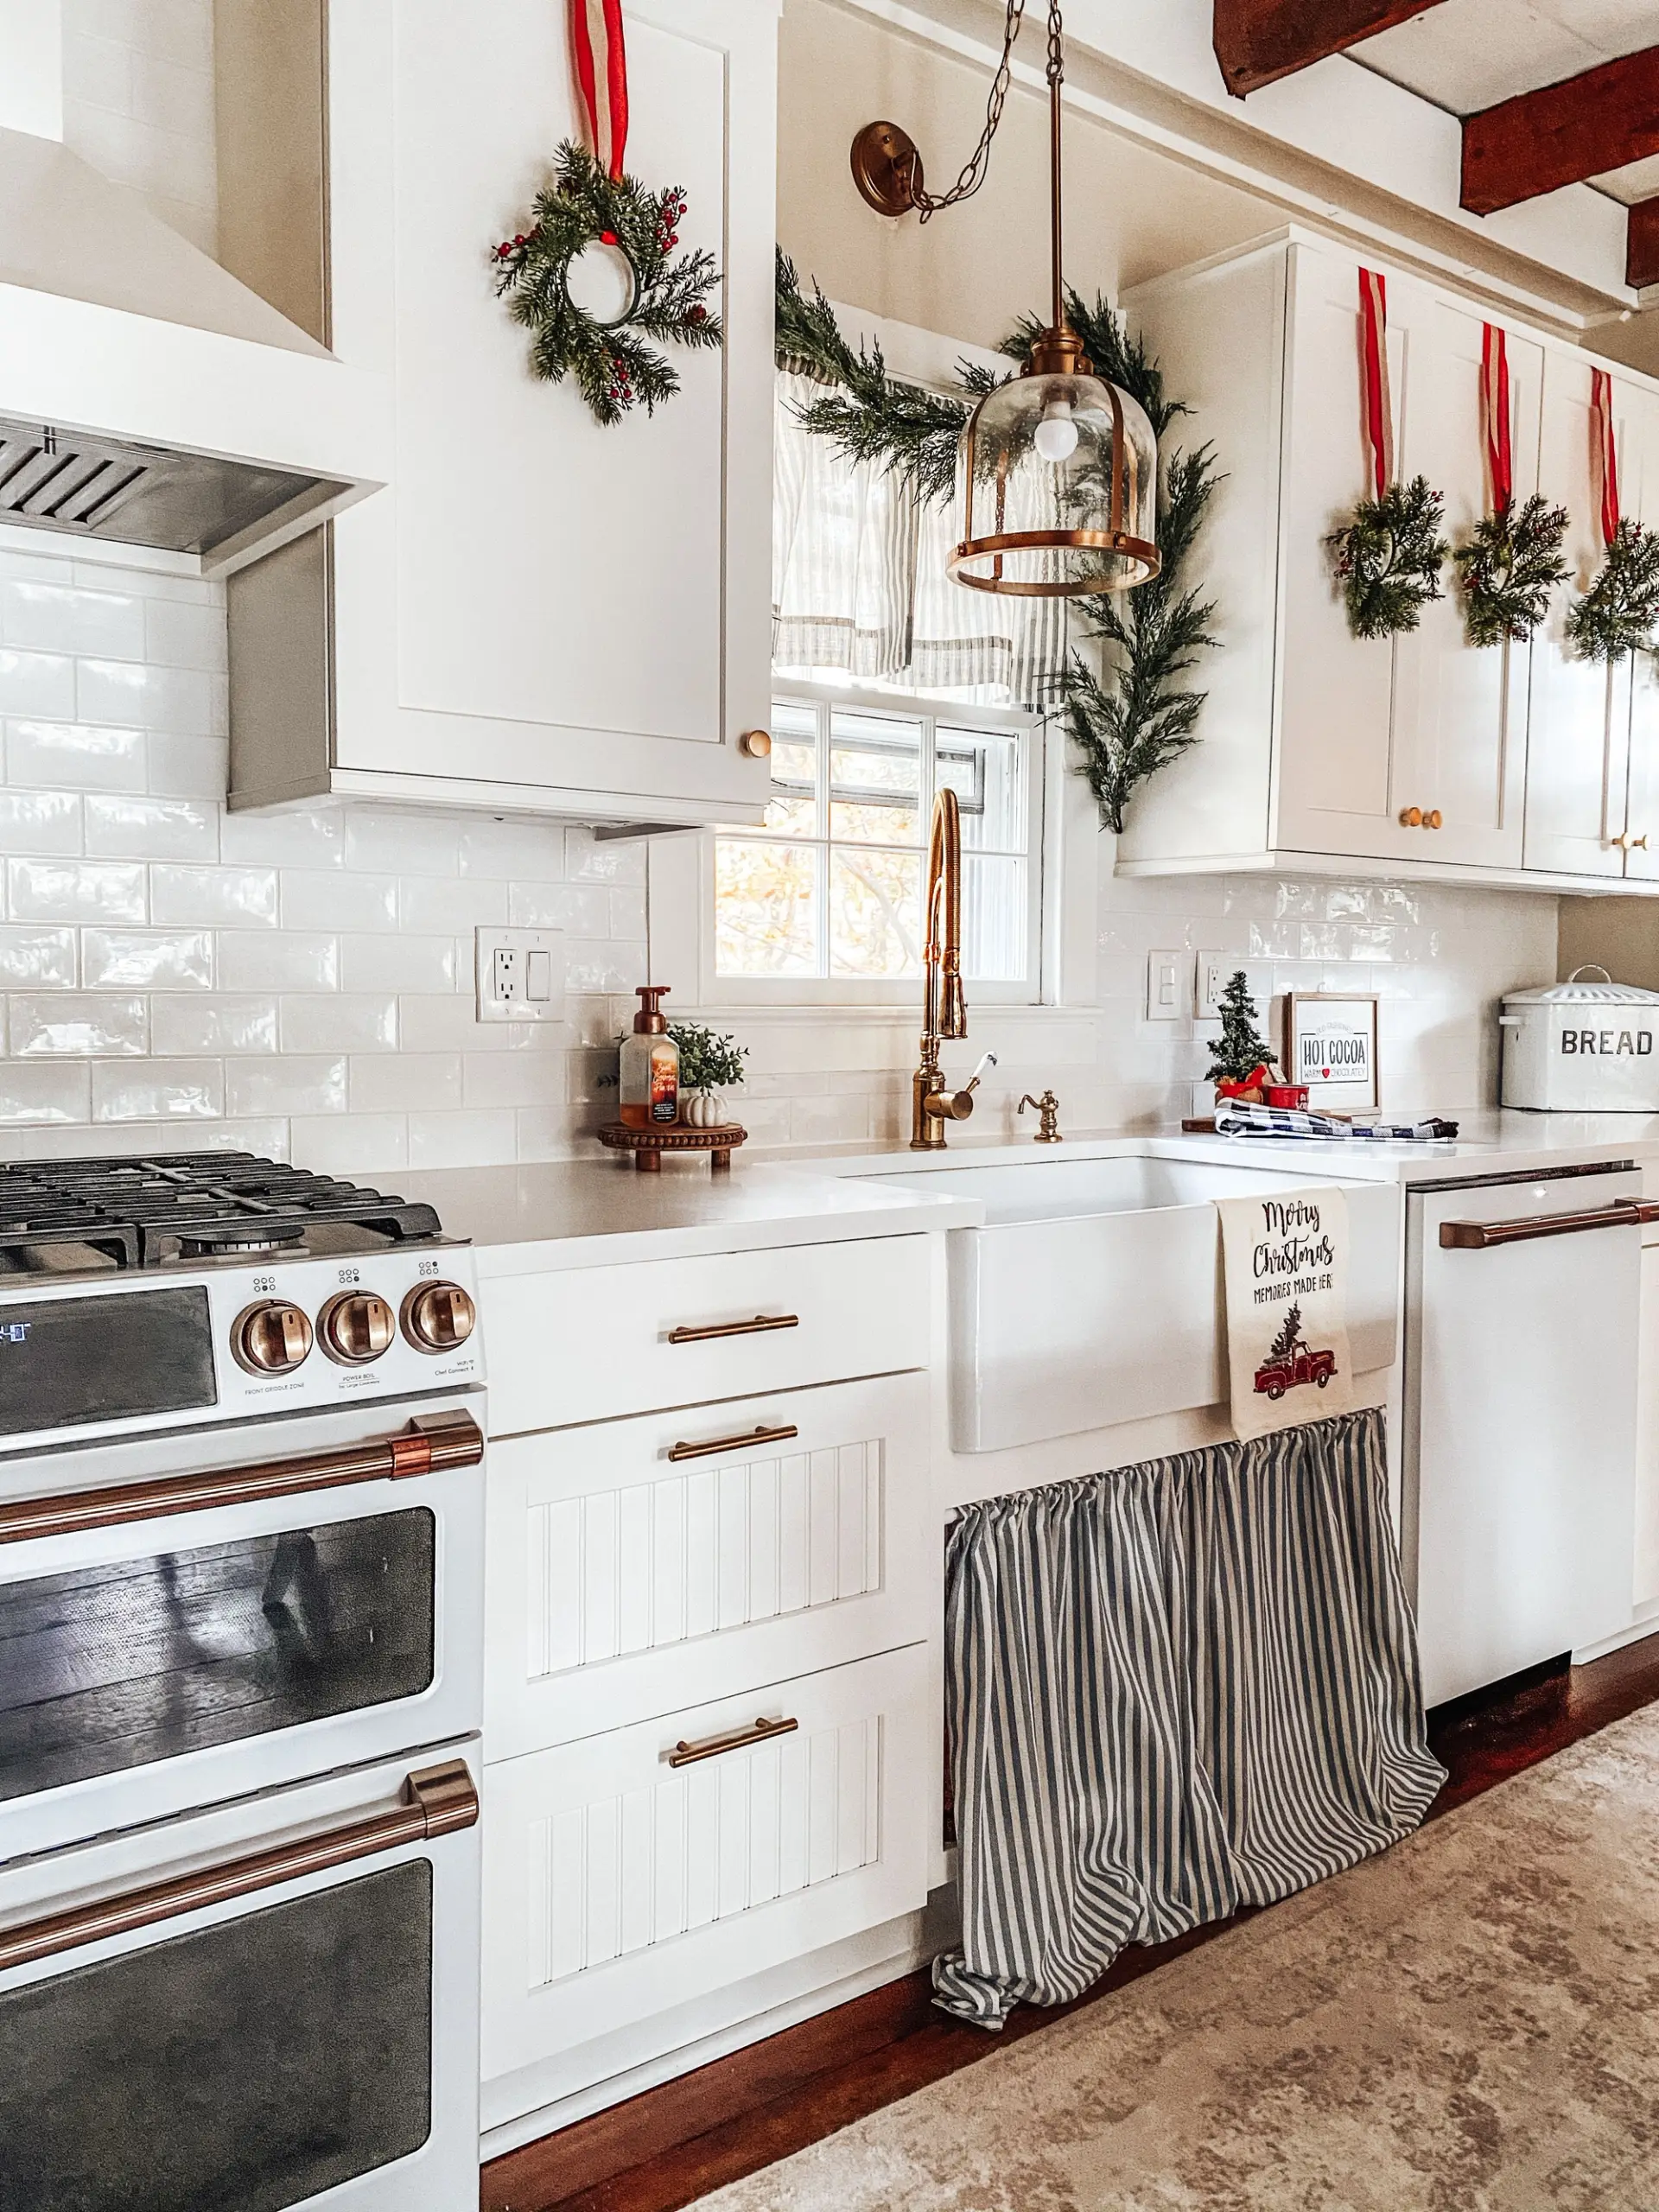
A soft-close hinge is not a universal addition. Identify the current hinge arrangement, door overlay and available mounting space, then check the selected hardware manufacturer's fit information. The person responsible for the hardware should confirm the part before a complete order is placed.
Ask whether the proposed change uses replacement hinges or an accessory, whether drilling changes are needed, and who will make the final adjustment. Avoid describing the upgrade as included until those details appear in the agreed work.
Confirm the finish and quantity
Compare a physical hardware sample against the cabinet color, countertop and nearby appliances. Look at its scale on the actual door rather than relying only on a product photo. Keep enough information to reorder the same item if necessary.
Verify quantities before the installation stage, including any different sizes or special pieces. Decide what happens if an item arrives damaged or a fit problem is discovered. That conversation helps keep the painting and hardware work from depending on an unresolved delivery.
Coordinate removal, return and adjustment
Agree how doors, drawers and their fittings will be labeled. Record which existing items will be reused, retained by the homeowner or replaced. Installation and adjustment should fit the coating's handling instructions and the agreed project sequence.
During the walkthrough, check alignment, opening direction and contact with nearby surfaces. Keep cosmetic finish questions separate from a hinge or drawer adjustment so each can be addressed clearly.
Bring your hardware choices and photographs to Henry's cabinet-painting planning process. Confirm the painting scope first, then identify any separate hardware work needed to complete the room.
Explore more of our work