
Planning Bathroom Painting Around Moisture and Daily Use
Before a bathroom repaint, separate paint decisions from leaks, recurring dampness and ventilation concerns. Then define the surfaces, finish and return-to-use plan.
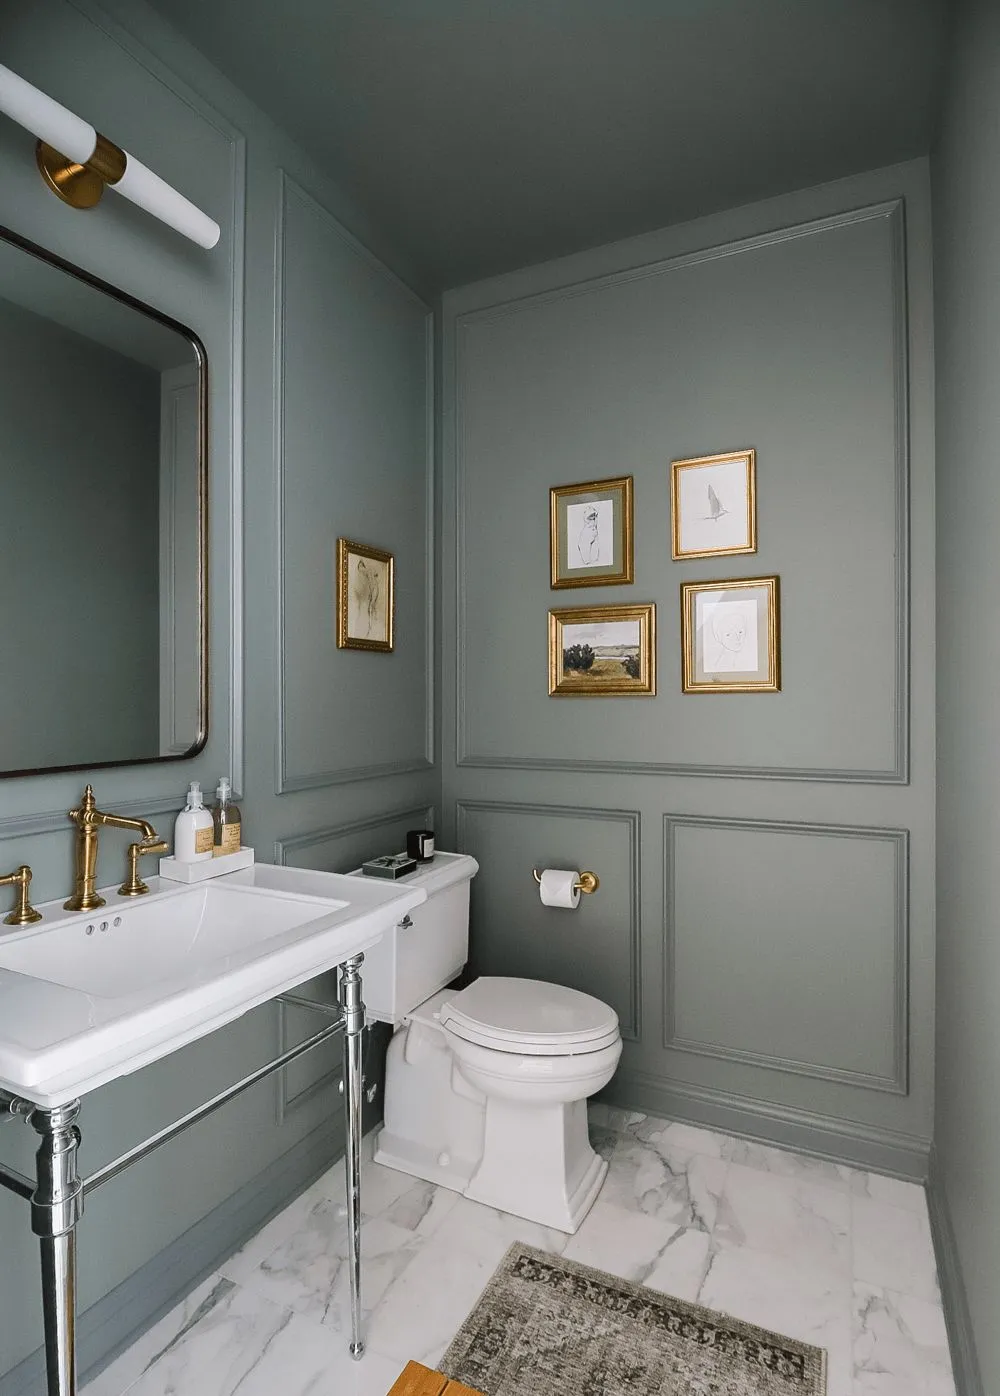
A bathroom repaint affects a room the household may need every day. The estimate should account for that use as well as the wall and ceiling finish. Start by identifying the surfaces you want changed and any condition that has made the existing paint difficult to maintain.
Tell the painter about recurring dampness, peeling, stains or previous repairs. A different sheen is not a diagnosis for those conditions. The cause and the readiness of the surface should be addressed before the repaint sequence is agreed.
Separate moisture concerns from the color decision
Record where a problem appears and when you notice it. A mark near a shower, a ceiling stain and an isolated damaged patch are different observations. Include any known plumbing, roof or ventilation history without treating a photograph as proof of the cause.
If mold is present, painting over it is not a cleanup plan. EPA’s mold-cleanup guidance says to address the moisture problem and clean and dry affected surfaces before painting. Ask who will assess and handle that work. This is not a claim that a painting estimate includes mold remediation or ventilation repairs.
List the painted surfaces separately
Identify walls, ceiling, trim, door faces and interior window casing. Note where tile, shower surrounds, mirrors and fixtures meet the proposed painted areas. Define the boundaries so that a wall repaint is not confused with a cabinet, tile or fixture-refinishing project.
If you want the vanity changed, include a separate cabinet-painting discussion. Its existing coating, hardware and use deserve their own preparation and finish decision. Coordinating the color does not make the processes identical.
Choose a finish by product and room use
Discuss the cleaning the room normally receives and the appearance you prefer in its lighting. Compare the proposed product’s intended use and care instructions rather than relying only on a sheen label. A wall and ceiling may have different requirements even when they share a color family.
Review a sample with the tile, countertop, floor and lighting that will remain. A warm tile and a cool white sample can create a stronger contrast than expected. Check the complete combination before the final selection is recorded.
Make protection and access practical
Agree what will move from shelves, counters and wall storage, and who will handle it. Include mirrors, towel bars and other attached items in the discussion rather than assuming they will all be removed. Confirm how adjacent surfaces and fixtures will be protected.
If this is the household’s only bathroom, explain that constraint at the estimate stage. Ask which parts of the room will be unavailable during each phase and what arrangements are needed before work begins.
Confirm when normal use can resume
The selected products and actual room conditions determine the instructions for returning to use and cleaning. Ask for those instructions explicitly, including any limits affecting showers or contact with newly finished surfaces. Do not substitute a generic same-day promise for the job’s requirements.
Discuss the interior repaint with Henry’s with photographs, surface boundaries and your bathroom-access needs. Resolving these details early keeps the finish decision connected to the way the room is used.
Explore more of our work