
Ceiling Painting: Plan the Surface, Lighting and Wall Edges
A ceiling repaint needs its own scope. Identify texture, old repairs, lighting, access and the line where the ceiling meets each adjoining surface.
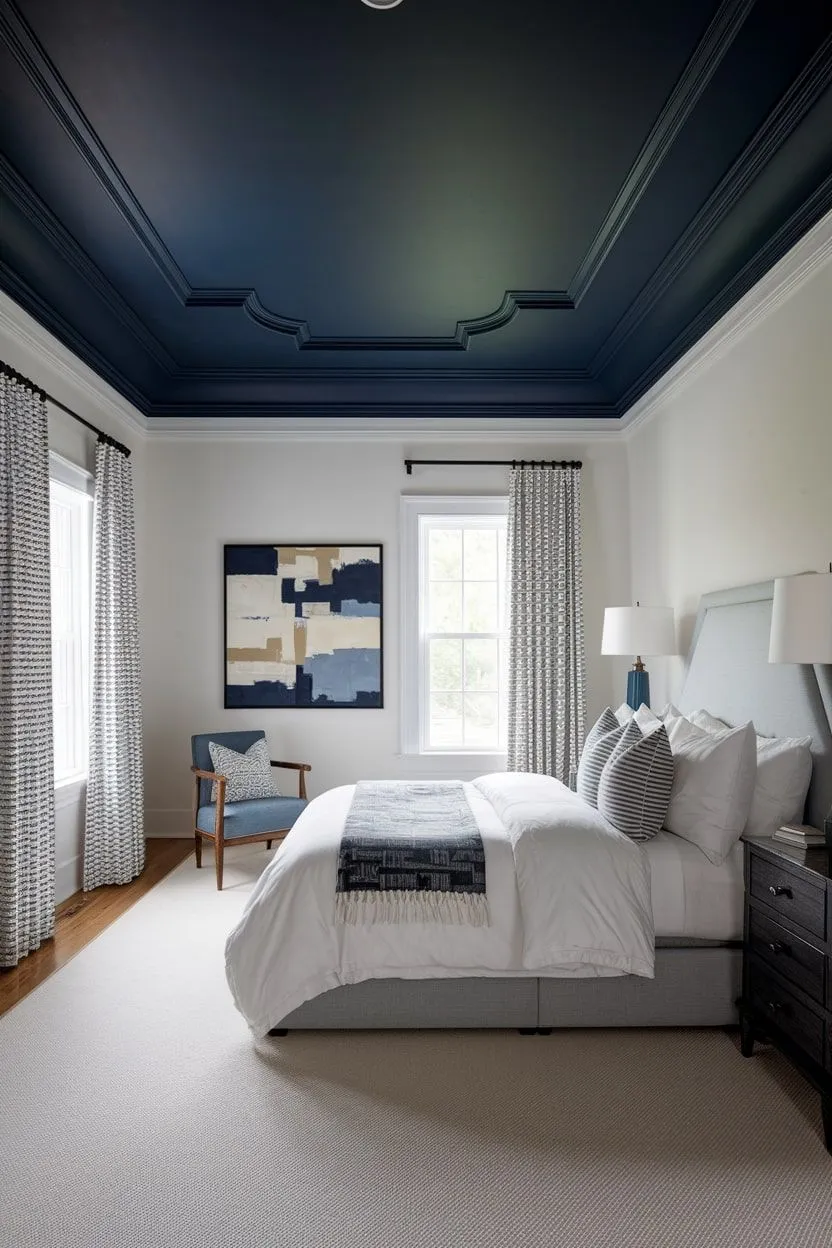
A ceiling is easy to leave out of an interior estimate until fresh walls make its condition more noticeable. Before work begins, decide whether the ceiling is included and how it relates to the walls, crown molding and any beams or architectural details.
The goal is a clear description of the surface and the desired finish. A general request for clean lines does not explain an uneven existing corner, a textured ceiling or a large patch that catches light from a window.
Identify the ceiling you have
Describe whether the surface is smooth, textured, paneled or interrupted by beams. Mark old repairs, visible seams and stains. Include when a stain appeared and any work already done to address its cause. A repaint should follow an assessment of unresolved conditions rather than conceal them.
If a textured finish is unfamiliar, ask what assessment is needed before any disturbance. Removing texture is a separate decision from repainting it. Include that distinction in the written work description instead of assuming the entire ceiling will be made smooth.
Look at the surface in its usual lighting
Observe the room with daylight and the fixtures you regularly use. Note where light runs across the ceiling and makes a repair or texture more apparent. These observations help define the appearance you want reviewed before coating begins.
USG’s finishing guidance discusses the relationship between gypsum finishing, lighting and decoration. For a repaint, that is a reason to discuss preparation and the final finish together. It is not a promise that a coating alone will hide every existing irregularity.
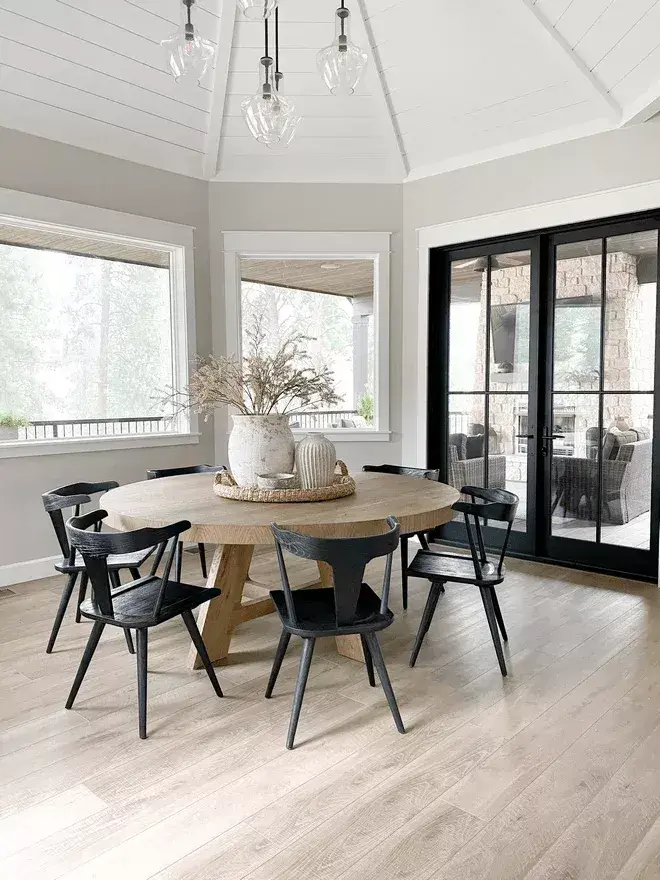
Agree where each color begins and ends
Identify the intended boundary at walls, crown molding, beams and sloped sections. Vaulted rooms and stairwells may have transitions that are less obvious than a simple flat ceiling. Mark those locations on photographs or during the walkthrough.
If the existing corner is irregular, discuss the expected treatment before accepting a phrase such as a perfect line. A reference image can describe the style you like, but the proposal needs to account for the geometry of your actual room.
Plan access above the furnishings
Ceiling work may require a different arrangement from wall-only painting. Identify large furniture, hanging fixtures, tall built-ins and areas where access is limited. Agree who moves which items and how floors and remaining belongings will be protected.
If the room contains fixtures that need separate trade work, coordinate that work with the painting sequence. Avoid leaving fixture replacement or an access decision until after the ceiling is finished.
Record the finish and the review conditions
Choose the proposed color and sheen with the walls and trim in view. Confirm whether a sample or small demonstration area would help establish the intended appearance, especially around a repaired area.
At the final review, walk through the included rooms with the agreed scope and ordinary room lighting. Note any questions in one place and retain the finish information for future care. Explore Henry’s interior-painting service to include ceilings as a defined part of your repaint, with drywall work identified separately where needed.
Explore more of our work