
Kitchen Wall Painting: Plan Around Cooking, Cleaning and Cabinets
Kitchen walls sit beside fixed cabinets, counters and tile. Define their boundaries, cleaning needs and access before choosing the product and painting sequence.
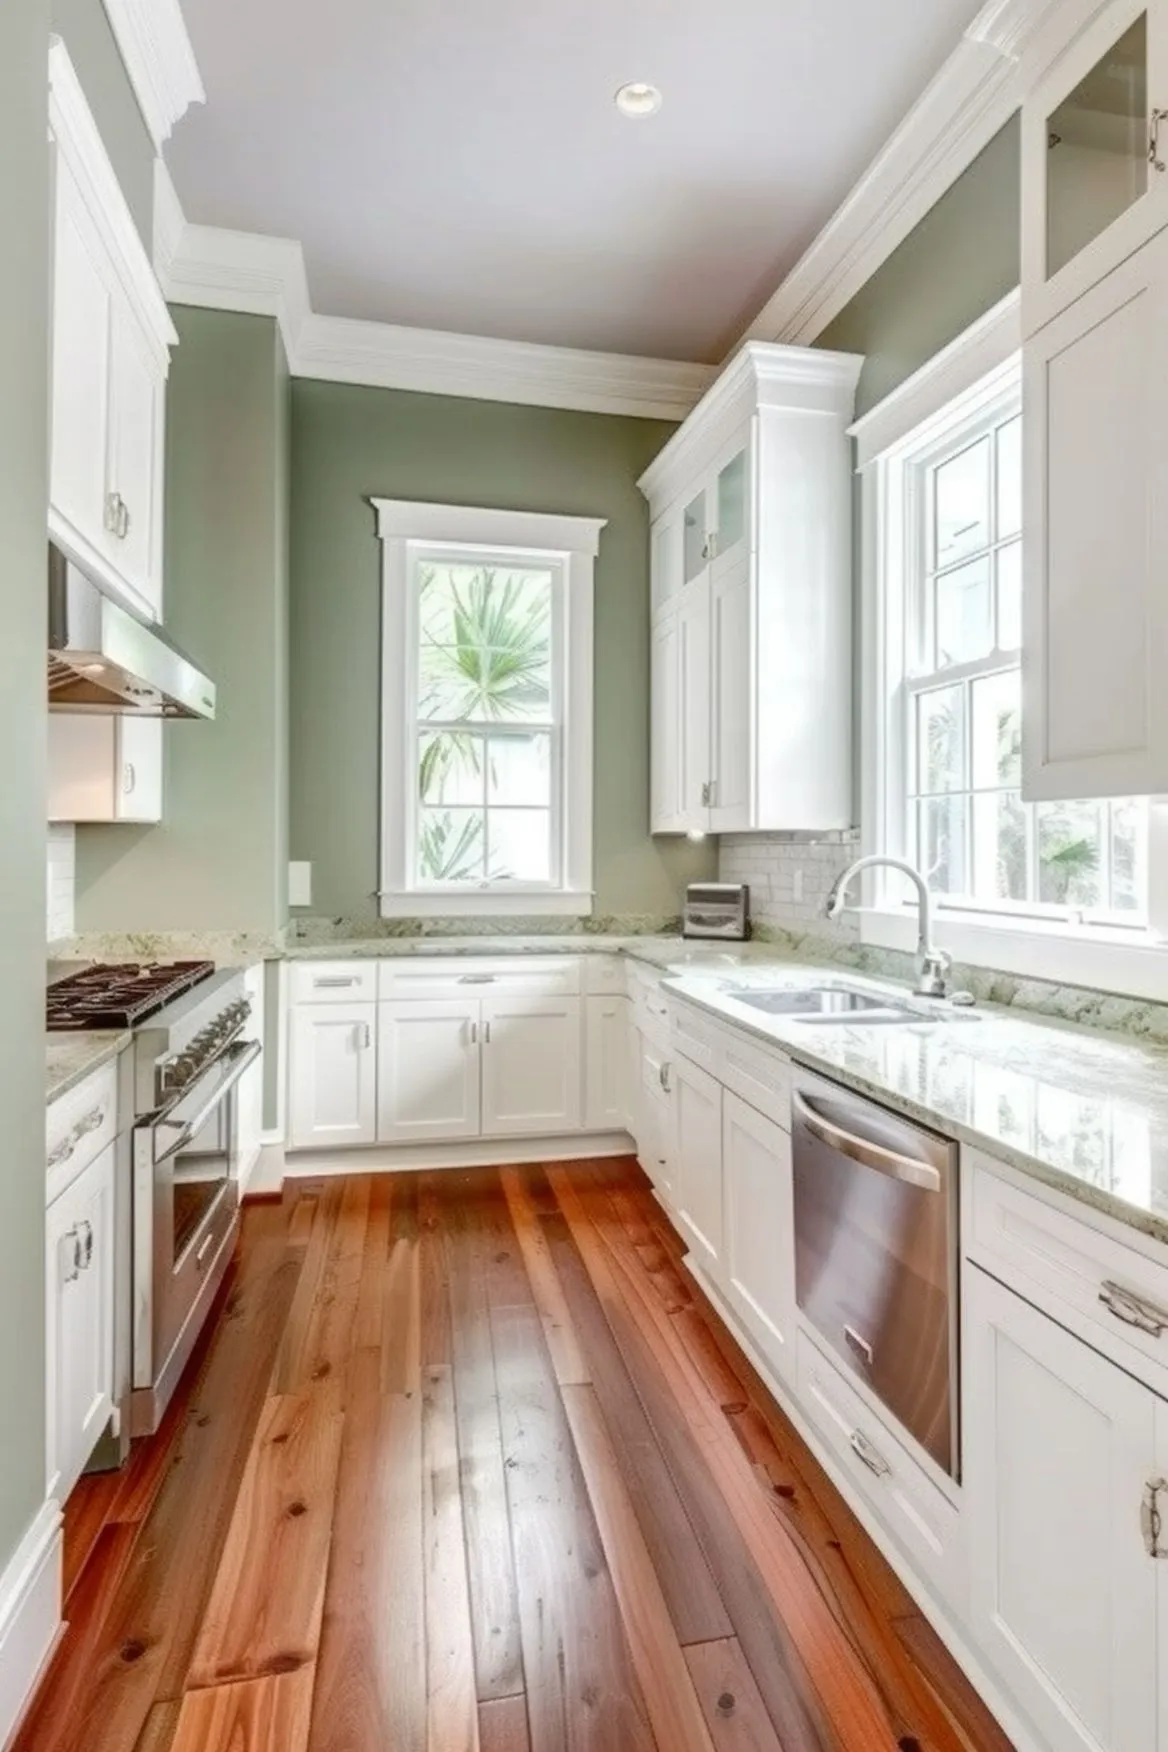
Kitchen walls are often divided into small areas by cabinets, doors, tile and appliances. That can make a room look simple to paint while leaving several important boundaries unclear. Start by identifying every wall section you want included and the surfaces that will remain.
A useful kitchen repaint plan connects preparation, finish selection and everyday use. It does not assume that a wall product is suitable for cabinets, a backsplash or the inside of an appliance recess.
Mark the wall areas and edges
List the walls above counters, the space above upper cabinets, exposed end areas, the breakfast nook and adjoining passages. Identify whether ceilings, baseboards, door frames and pantry surfaces are included. A photograph from each side of the room helps show the smaller areas that are easy to overlook.
Treat cabinet painting as its own decision. If you want both walls and cabinets changed, discuss their sequence together while keeping preparation, hardware and finishing requirements separate. Henry’s cabinet-painting page is the appropriate starting point for the cabinet portion.
Describe how the existing walls are used
Point out areas affected by cooking, frequent wiping or contact with chairs and household items. Note residue, old patches and damage without assuming that a fresh coat will make every condition disappear. Ask what cleaning and surface preparation the proposed system requires.
The condition behind an appliance may differ from the visible wall. If those areas are included, confirm who handles access and any needed appliance or utility work. Do not assume they can be moved safely as part of a standard painting visit.
Choose a product for the actual expectations
Explain how you normally clean the room and what appearance you prefer. Compare the specific product’s intended use and care instructions, then choose its sheen. Sheen alone should not be treated as a complete durability specification: Sherwin-Williams notes product-dependent differences in washability.
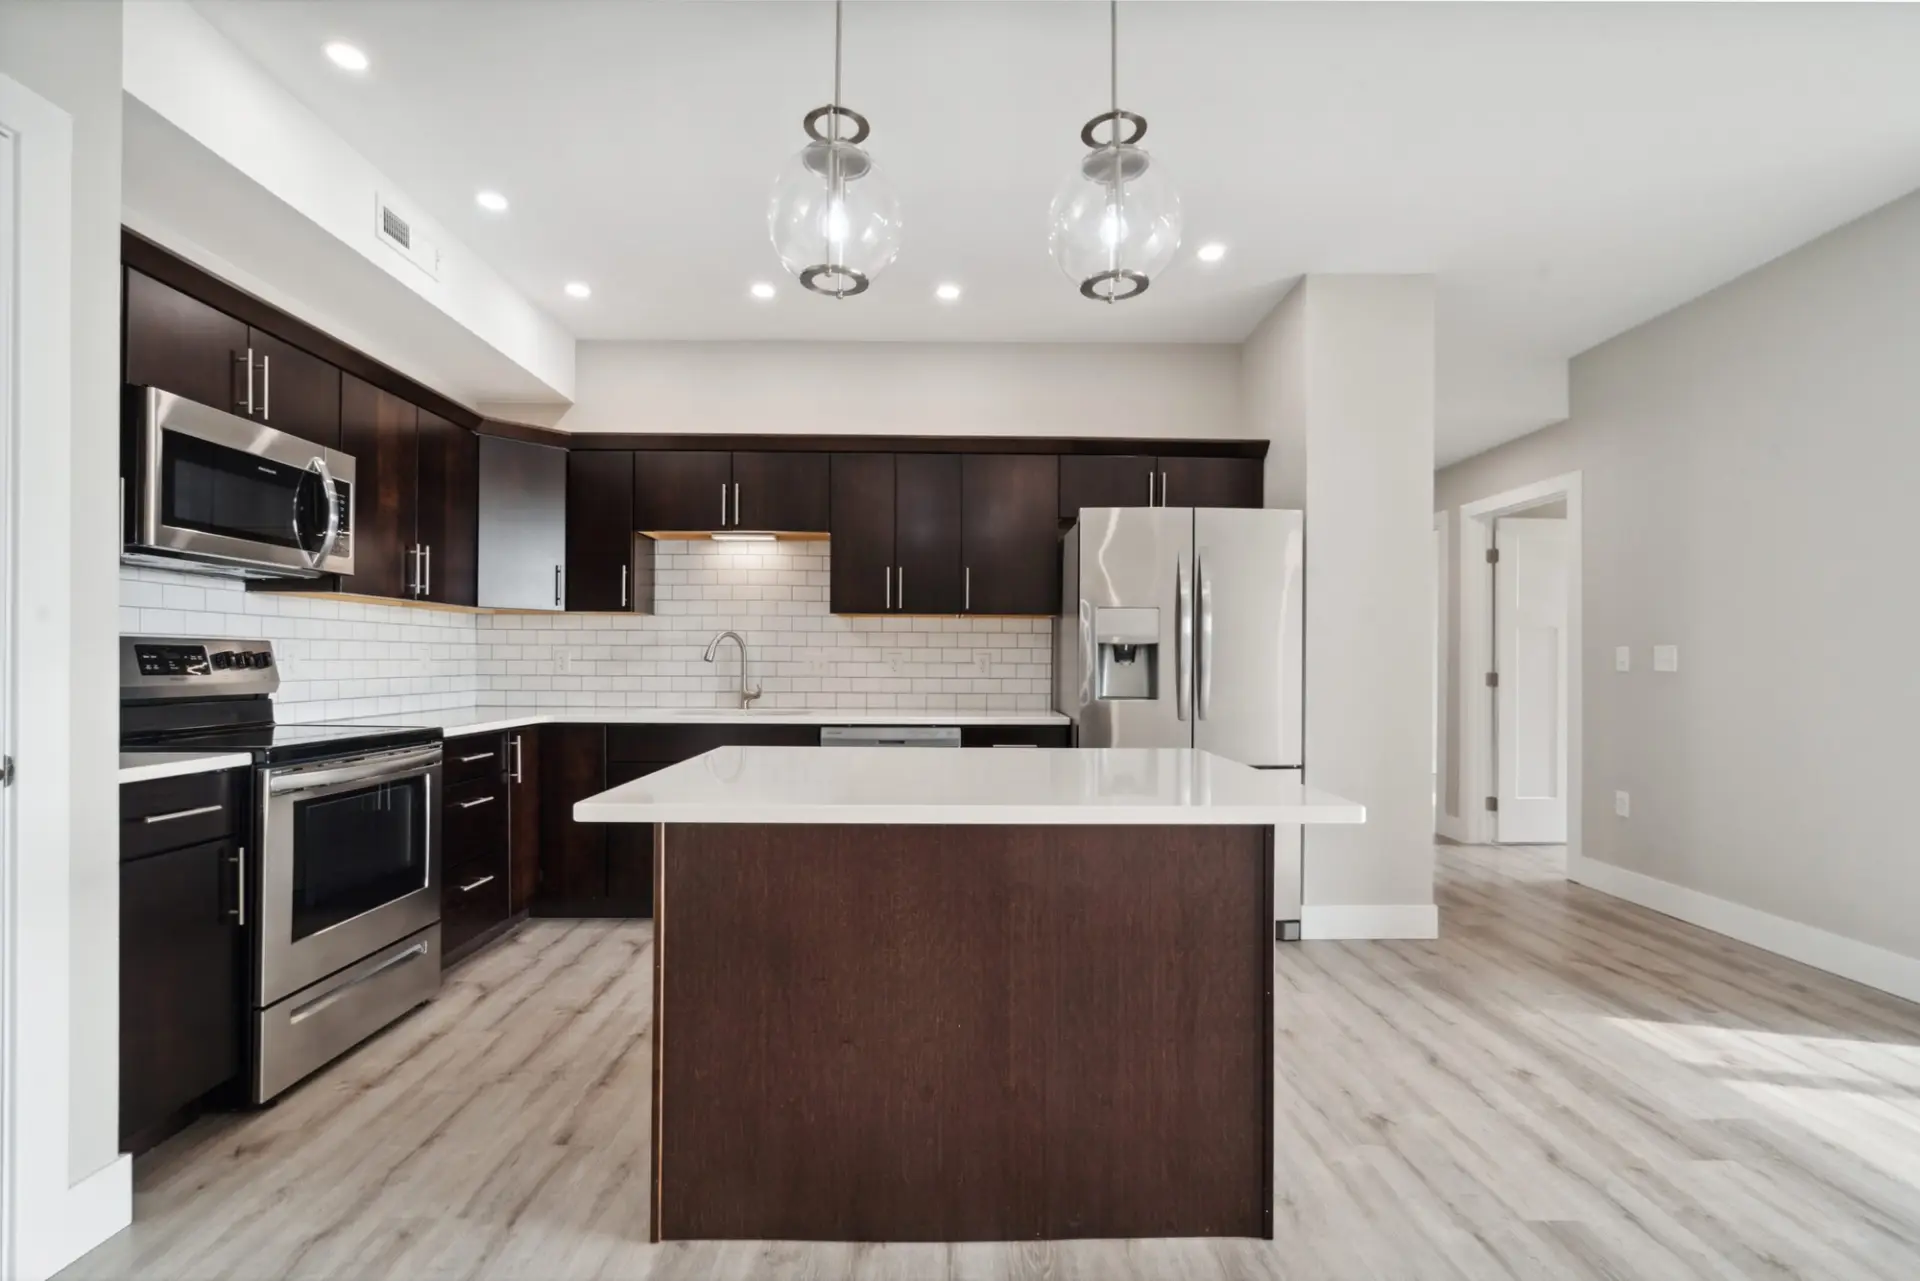
Review a sample beside the countertop, cabinets, floor and backsplash. Include the lighting used in the evening as well as daylight. Those fixed surfaces can influence whether a proposed wall color feels related to the rest of the kitchen.
Agree how the room will operate during work
Discuss the hours when cooking, food preparation and normal kitchen access need to pause or move elsewhere. Identify belongings to clear from counters and open shelves, along with food-storage areas that need to stay accessible.
Specify how adjacent counters, tile, fixtures and flooring will be protected. If another contractor is changing lighting, cabinets or a backsplash, put those tasks in the same sequence discussion. A finished wall should not become the staging area for an unrelated installation.
Keep the handover useful
Ask for the wall product, color and sheen in writing, including any different finish used on trim or the ceiling. Confirm the instructions for returning to normal use and cleaning. These should come from the actual coating and conditions rather than a universal waiting period.
Plan the kitchen as part of an interior repaint with Henry’s. A marked set of surfaces and clear household-access needs give the estimate more useful detail than a room name alone.
Connected HPC evidence