
Trim Painting: Agree on Preparation and Finish Detail
For a more refined trim finish, begin with the existing coating, profiles and surface condition. Agree on the desired appearance without promising a universally mark-free result.
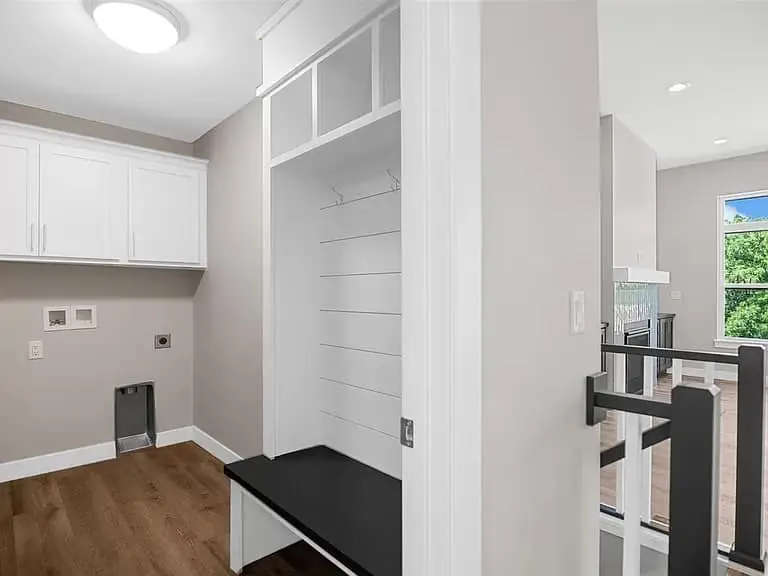
Baseboards, door casings and window trim put small details close to daily use. A brush ridge, old repair or uneven joint can attract attention when it sits beside a newly painted wall. The useful question is how the existing trim should be prepared and what finished appearance is included in the proposal.
A promise to remove every brush mark does not explain the starting condition or the method. Begin with actual examples in your home, and discuss which details you want improved before the coating is selected.
List the profiles and surfaces
Identify baseboards, window casing, door casing, crown molding and other painted millwork separately. Include both simple flat pieces and detailed profiles. Note which faces and edges are visible and which you expect to be included.
Door work needs its own boundaries: faces, edges, frames and hardware handling. Built-ins and cabinets also deserve separate review, even when you want their color to coordinate with the trim. This prevents an interior wall estimate from silently becoming a much larger finishing project.
Examine the existing coating and condition
Share any information about the previous finish. Point out chips, raised edges, old brush texture, repairs and areas that rub or stick. Ask which features can be addressed within the proposed preparation and which reflect the underlying material or construction.
If older paint may be disturbed, identify the age of the home before preparation is chosen. EPA’s renovation guidance for consumers explains why pre-1978 painted surfaces require an appropriate lead-aware assessment. The work method and qualifications should be confirmed for the actual project.
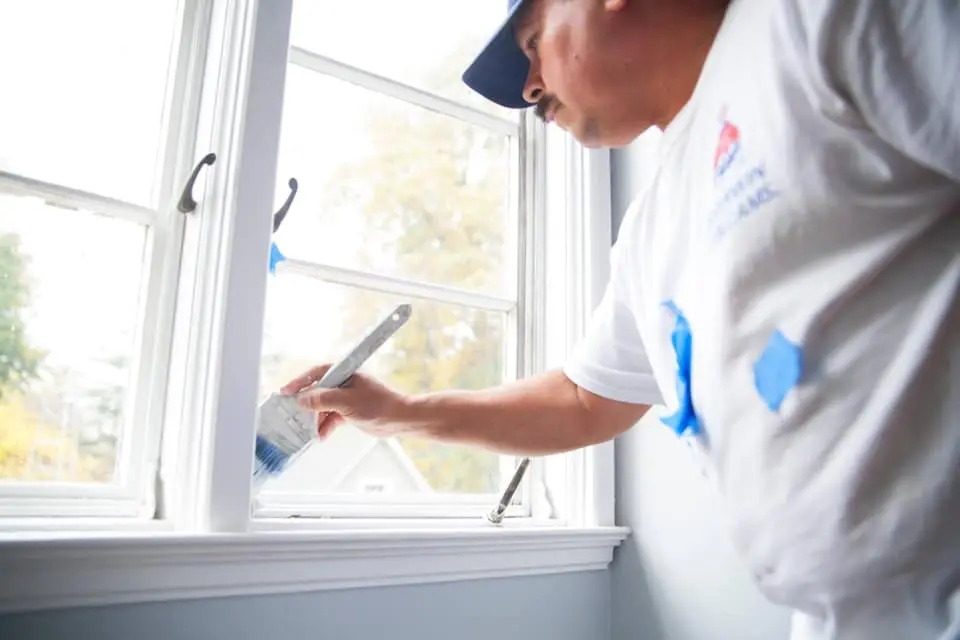
Use a sample to make the finish expectation concrete
Ask whether a representative piece or small area can demonstrate the proposed appearance. Review both a flat section and a profile if they differ substantially. Include the color, sheen and visible texture in the discussion.
Judge the sample in the setting where the trim will be seen. A close photograph and a view from the room entrance can answer different questions. Agree what will be reviewed before repeating the same approach across connected rooms.
Let the selected system guide application decisions
Ask how the proposed product fits the existing surface and daily use, and what preparation it requires. Application tools, compatibility and the return-to-use instructions should be considered together. A particular brush, roller or spray method is not a guarantee of an identical result on every profile.
Avoid turning a generic online technique into the specification for all of your trim. The written proposal should explain the intended work and appearance without obscuring condition-related limits.
Coordinate access and finishing boundaries
Discuss furniture near baseboards, window coverings, doors that must remain usable and items that may need to be removed. Identify who handles hardware and how finished surfaces will be protected while adjoining work continues.
Keep the trim product, color and sheen with the room’s finish records. At the final walkthrough, review the included components and any agreed preparation examples. Discuss trim and doors through Henry’s interior-painting service, with cabinet work separately identified where it forms part of the broader project.
Explore more of our work