
Failed Caulk Before Painting: Identify the Joint Before the Product
A cracked bead around trim is a visible condition, not a complete specification. Identify the joint, materials and exposure before deciding what belongs in the painting scope.
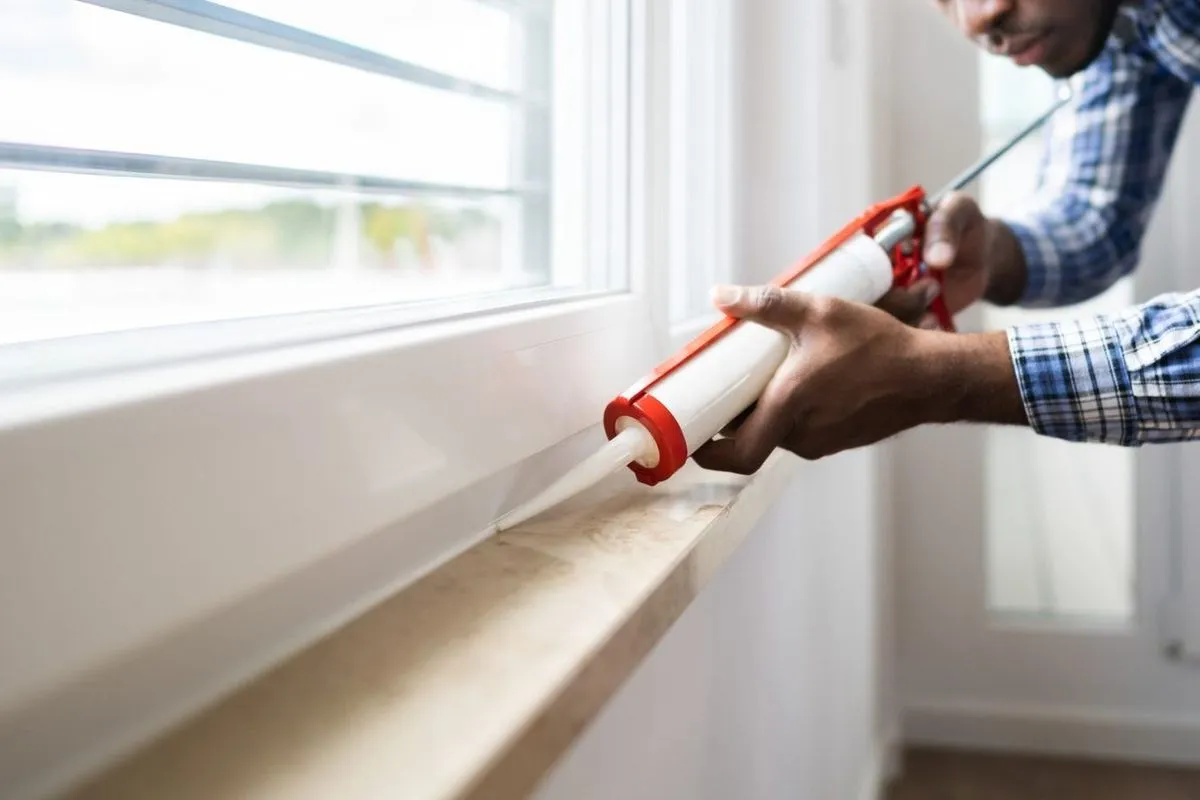
A split or separated caulk line can be one of the most noticeable details beside freshly painted trim. But the right response depends on where the joint is, what it connects and what conditions it experiences. Not every opening should receive the same product or be filled in the same way.
Start by documenting the failed area and its surroundings. A close photograph shows the visible separation; a wider view shows whether it sits at interior trim, an exterior opening or another building transition.
Identify the joint and adjacent materials
Describe the components on each side, such as wood trim and a wall, or an exterior frame and surrounding cladding. Include any known product information from previous work. If you do not know what was used, say so rather than guessing from the bead’s color.
Ask whether the joint is intended to be sealed and whether its existing function affects the proposed work. Drainage or ventilation details should not be treated as cosmetic gaps simply because they are visible. The actual assembly needs to guide the decision.
Record recurrence and exposure
Note when the separation appeared and whether it has returned after repair. Point out water staining, movement or damaged adjacent material. Those observations may lead to questions beyond a replacement bead of caulk.
Agree who will assess any unresolved condition and whether a separate repair is needed before painting. An estimate should distinguish ordinary trim preparation from work on a different building system. It should also identify how additional findings will be discussed.
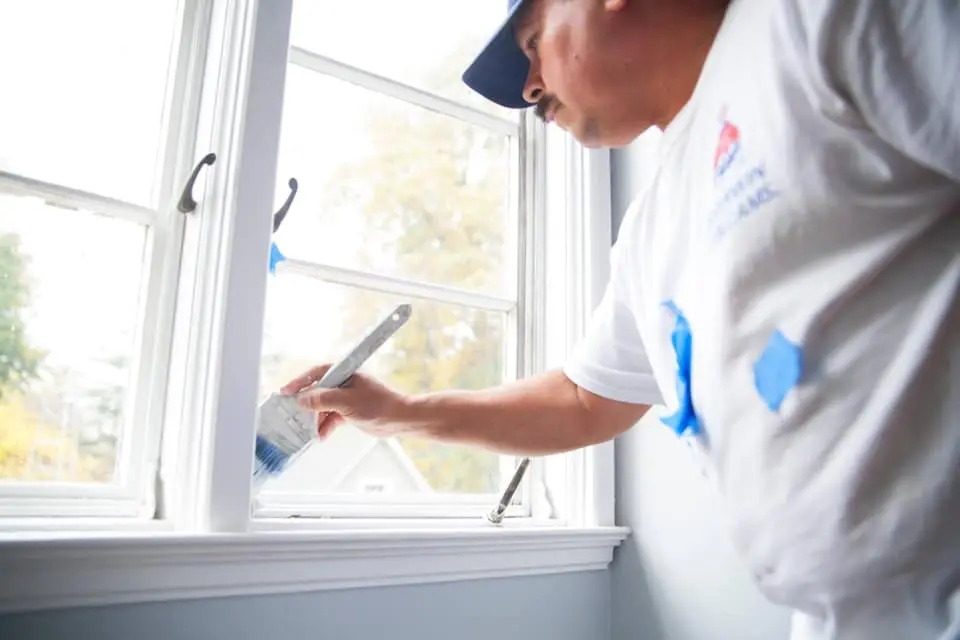
Choose the sealant by the job it must do
DAP’s caulk and sealant selection guidance identifies location, paintability, movement and exposure as selection factors. A familiar product name is not enough to establish suitability for every joint.
Ask for the proposed product and the reason it fits the materials and intended use. Confirm whether the final coating is compatible and what the product requires before painting. The instructions for one sealant should not be treated as a universal waiting period for another.
Agree on the visible finish
Discuss how the completed joint should relate to the surrounding trim and wall. Identify whether the work will be painted and where the color boundary falls. If the existing gap varies along a wall, ask how that condition affects the expected appearance.
A sample or representative area can help explain the proposed detail. Keep that discussion separate from any promise about hidden conditions or structural movement that a cosmetic finish cannot establish.
Put the repair in the right sequence
Coordinate the joint work with other repairs, preparation and coatings. If another contractor is replacing a window, repairing cladding or changing nearby materials, the painting sequence should account for that work. Confirm when the area is ready to receive the selected finish.
Discuss the affected trim through Henry’s interior-painting service or use the exterior-painting page for outdoor components. Bring the location, recurrence history and adjacent materials into the estimate so the work is defined by the actual joint.
Explore more of our work