
Peeling or Bubbling Paint: What to Check Before Repainting
Peeling and bubbling describe what you see, not a complete diagnosis. Record the location and history, resolve moisture or surface concerns, then define the repair and repaint area.
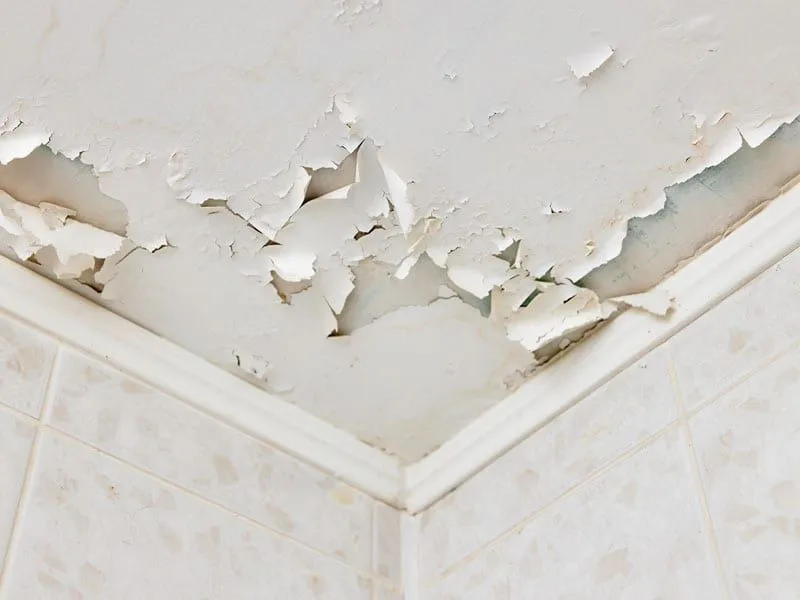
When paint peels or forms bubbles, the first useful step is to record the condition and its setting. Note the surface, nearby openings or fixtures, and whether the problem has returned after an earlier repair. A photograph can help explain the concern, but it cannot reliably identify the cause by itself.
Repainting should follow that investigation. Covering the visible mark without understanding the underlying condition can leave the main question unresolved, even if the surface looks different at first.
Describe the pattern and history
Take one wide photograph and a closer view. Record when you first noticed the problem, whether it changes after weather or normal room use, and what work has already been done. Include any product records from the last paint job.
Distinguish a local impact or scratch from a broader area of lifting paint. Let the person assessing the surface decide what that pattern means. Avoid naming a specific failure mechanism from an online image comparison.
Ask what must be assessed before coating
Sherwin-Williams lists several possible contributors to paint blistering, including moisture, application conditions and surface contamination. These possibilities illustrate why the same visible symptom can need different follow-up.
Ask whether a moisture, building-component or surface assessment is needed and who is responsible for it. A painting proposal should identify which conditions have been addressed and which remain outside the finishing scope. The next product should not be selected as a substitute for that decision.
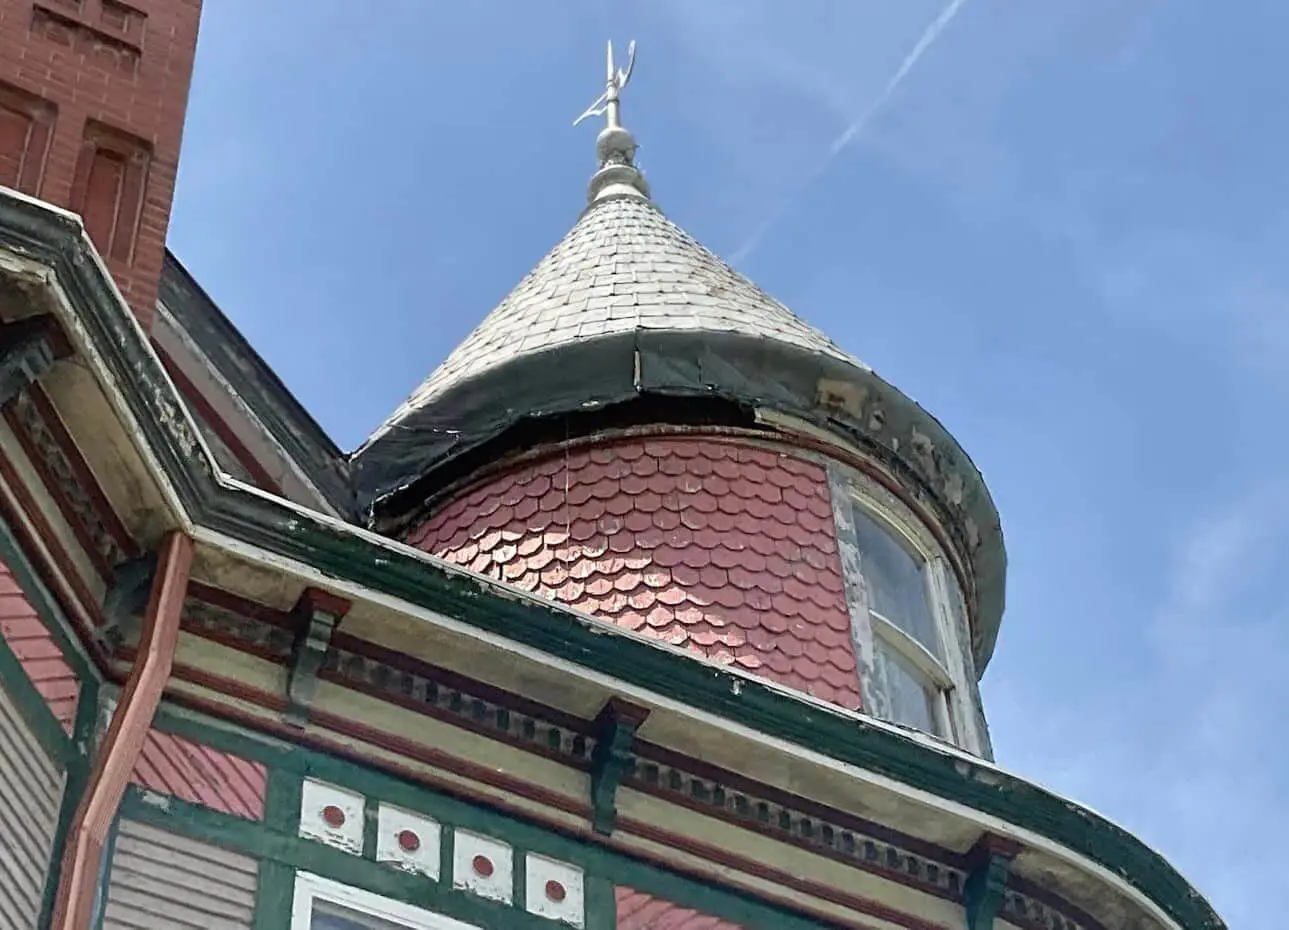
Treat mold as a separate concern
If mold is present, do not treat a new coating as the cleanup. EPA advises addressing the moisture problem and cleaning and drying affected surfaces before painting in its basic cleanup guidance.
Confirm who will assess and handle that work before painting proceeds. This guide does not provide a mold-remediation method, diagnose a health concern or imply that Henry’s painting scope includes remediation. Keep the relevant records so that the finish plan follows the resolved condition.
Define the repair and repaint boundaries
After assessment, ask which surface repairs and preparation are required for the selected system. Identify whether the work concerns a small trim component, an entire wall, a ceiling area or a complete exterior elevation.
The visible damage and the appropriate repaint boundary may not be identical. Discuss how the repaired area will relate to the surrounding color, sheen and texture. A promise to make a spot disappear is less useful than an agreed finish area and a sample where needed.
Keep product and condition information together
Retain the written scope, relevant repair records and the final coating information. Ask how the completed area should be used and cared for, and how to report a recurring concern. Photographs from before and after the work can help explain a later change without guessing about what happened.
For interior work, connect any separately needed drywall repair to the interior-painting plan. For siding and trim, begin with Henry’s exterior-painting service. Describe the condition first so the finish can follow a clear assessment.
Explore more of our work