
The Painting Walkthrough: Review the Work Against the Agreed Scope
A useful painting walkthrough follows the rooms and surfaces in the proposal, records questions clearly and ends with finish information and care instructions.
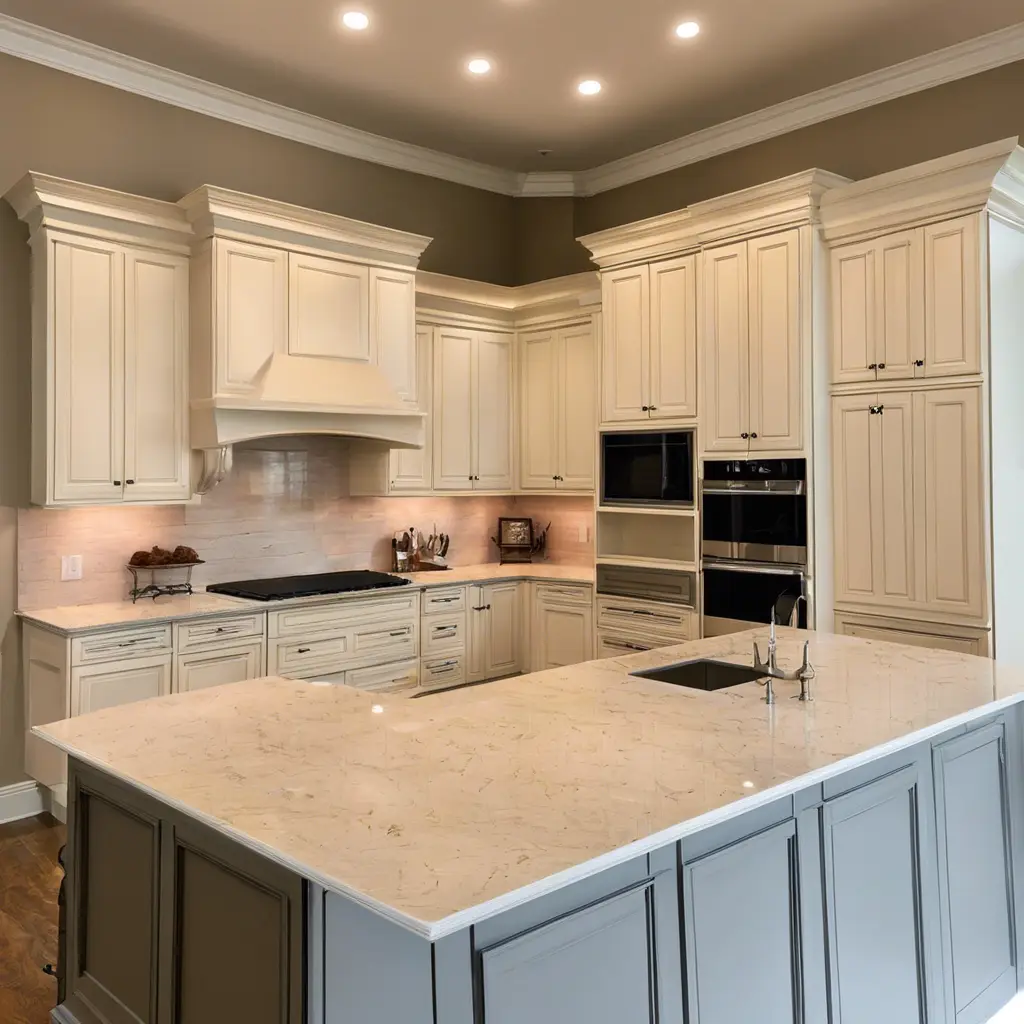
The final painting walkthrough is most useful when it returns to the scope agreed before work began. It should connect the completed surfaces, accepted colors and preparation decisions with what you can see in the room or on the elevation.
Set aside time to review the work with the person responsible for the project. Bring the written scope and any recorded samples or decisions. A shared reference is more effective than trying to remember every conversation from the estimate.
Follow the same surface list
Walk through each included room or exterior elevation in a consistent order. Identify walls, ceilings, trim, doors and other components separately. Check the included faces and edges against the proposal rather than assuming every nearby surface was part of the work.
For a project with optional additions or approved changes, keep those decisions with the original list. This makes the review about the final agreed scope and avoids confusing excluded work with an unfinished item.
Compare the finish with the accepted choices
Review the color, sheen and any representative sample agreed during planning. Look at the work in the ordinary lighting and viewing conditions discussed for the project. Ask about a difference you notice without assuming its cause.
A close-up photograph can help locate a concern, while a wider image explains its setting. Use both when needed. If a repaired area was expected to relate to an existing texture, refer to the preparation and finish discussion for that area.
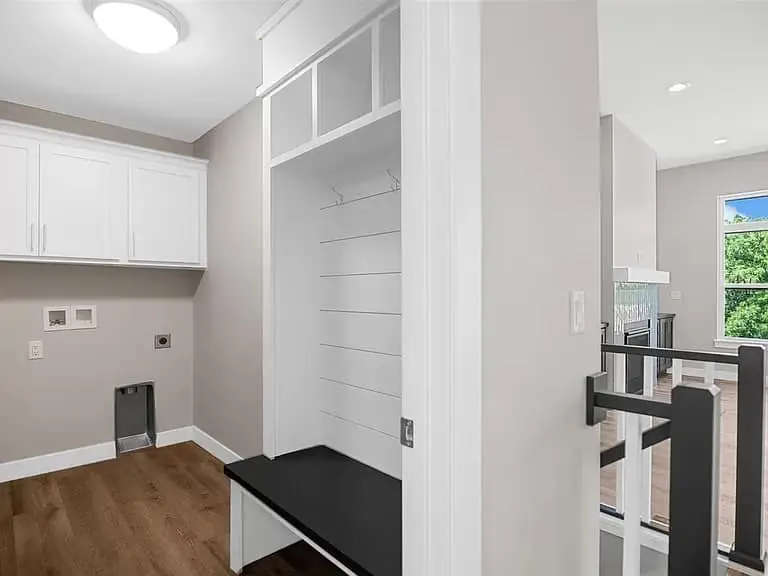
Record questions in one place
Create a single list that identifies the location, surface and observation. Distinguish a question about appearance from an item outside the original scope. Agree how each item will be reviewed and who will follow up.
Avoid making several overlapping lists through different people. One shared record makes the next step easier to understand and helps both parties know which items have been addressed. Record any additional agreed work separately.
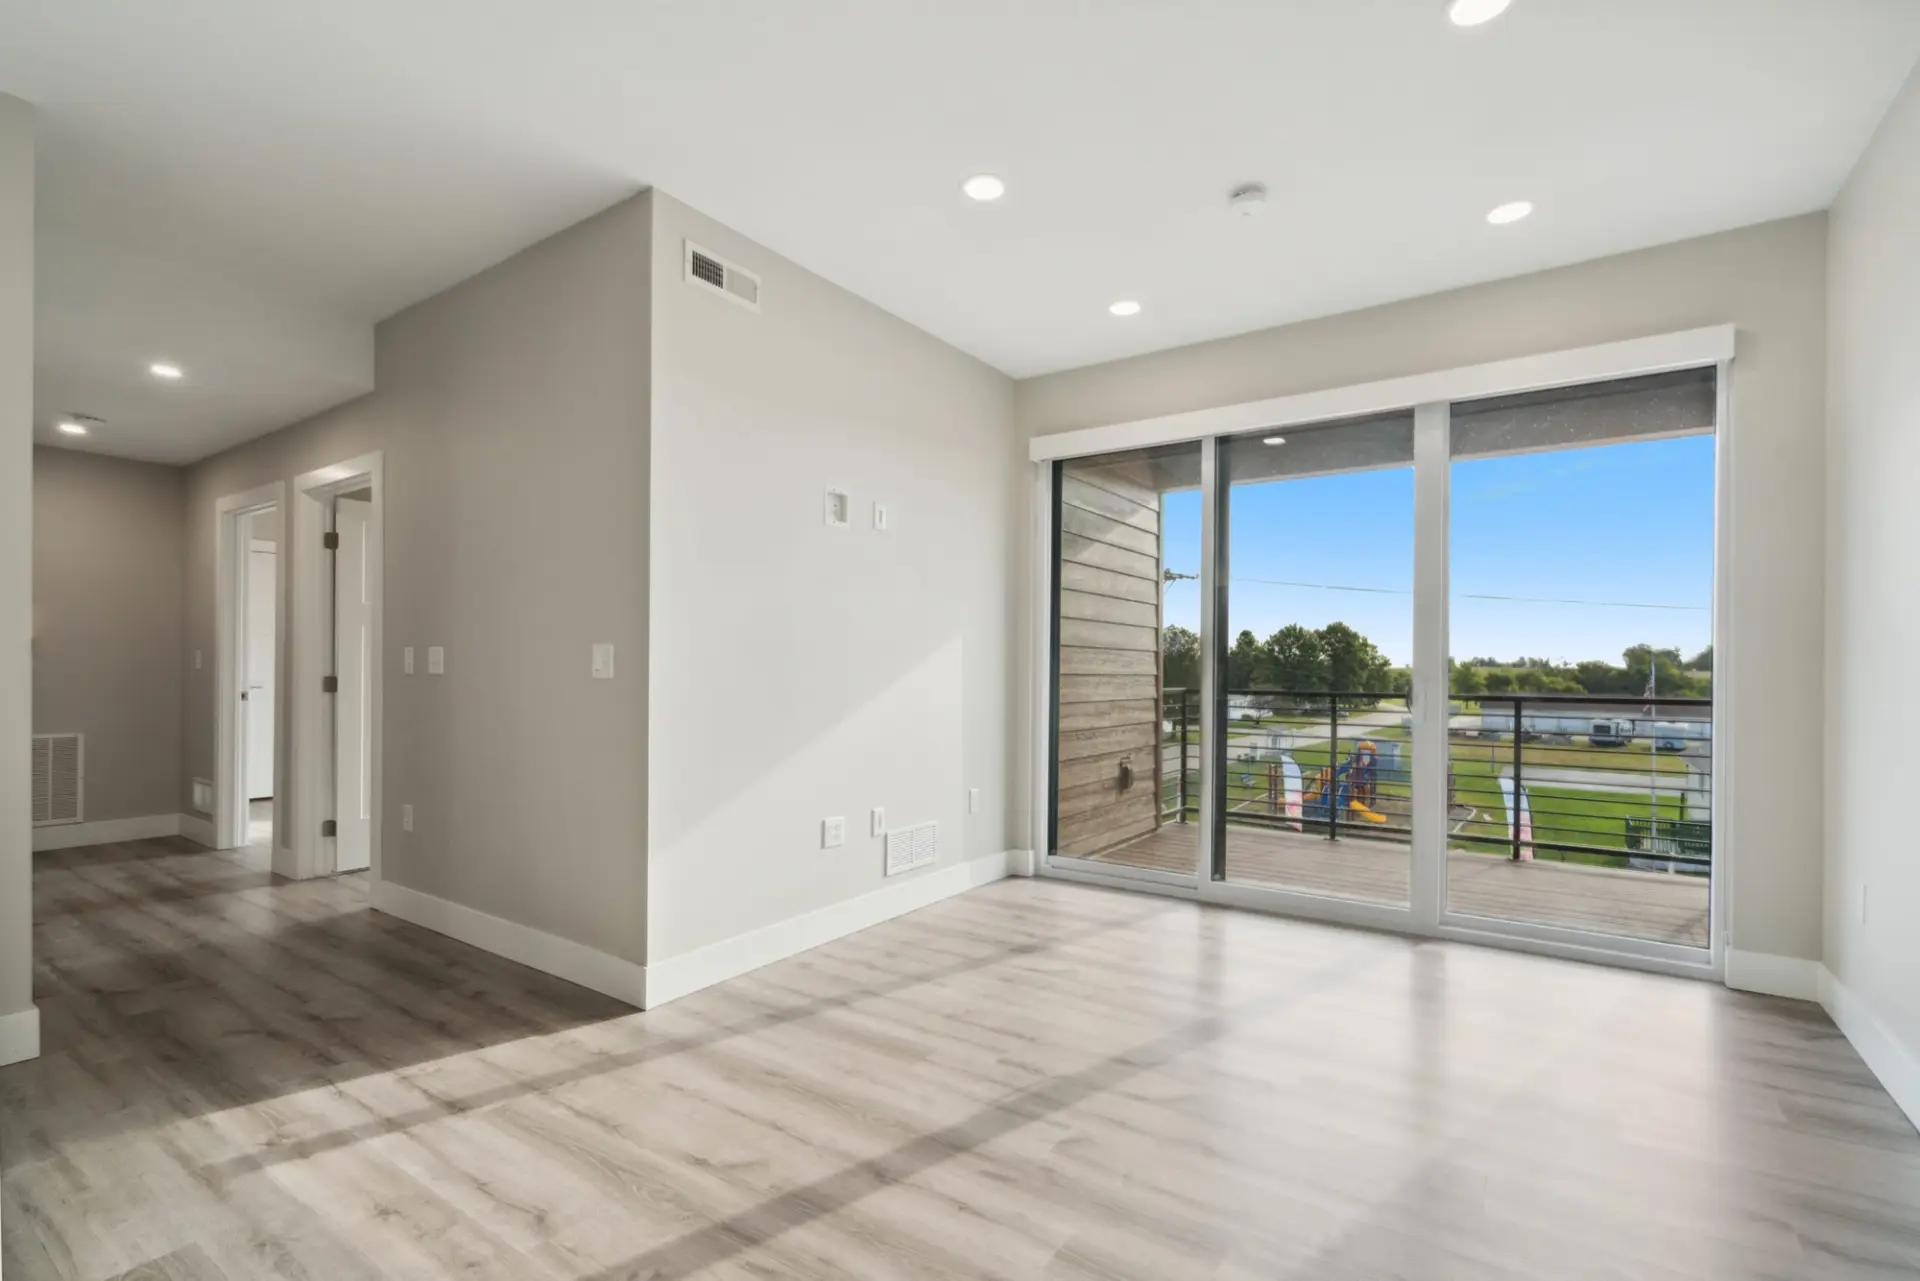
Review protection and reset tasks
Confirm the agreed removal of protective materials and the handling of items moved for the work. Check the relevant access routes and discuss any areas that need to remain undisturbed. Returning a room to its usual arrangement may have a different timing from completing the final coating.
If hardware, fixtures or belongings were handled by someone else, identify who completes that part of the reset. A painting walkthrough should not silently assign unrelated trade work to the painting crew.
Collect the finish record
Retain the products, color names or numbers, sheens and surface locations. Ask for the instructions that apply to cleaning and normal use of the actual coatings. Include information about any retained material and how it should be stored or disposed of according to its label.
If written warranty terms apply, keep them with the project records and confirm the contact process for a future concern. This is a handover task, not a promise that every project has the same warranty.
Close with clear next steps
Agree what is complete, which questions need a response and the expected communication for any remaining items. Keep the final record with your estimate and approved changes.
For a future project, Henry’s residential-painting overview connects the main service choices. Bringing the same clear surface list from estimate to walkthrough helps the work remain understandable throughout the project.
Explore more of our work